Integrating Cliniko With SignatureRx
Integrating Cliniko With SignatureRx
Learn how to seamlessly connect your Cliniko account with SignatureRx to streamline your clinical workflow. This guide walks you through locating integration settings, generating your API key, and finalizing the setup to ensure data syncs correctly.
Cliniko Integration Overview
Tip: The Cliniko integration allows you to sync your patient details from Cliniko into SignatureRx. This helps reduce duplicated data entry and keeps patient information consistent between systems.
1. Locate the Cliniko Integration in SignatureRx
After registering with SignatureRx:
- Click your name in the top right corner
- Select Profile
- Find the section called Cliniko Integration
You will need to enter:
- Your Cliniko API key
- Your Vendor Name (your practice name)
- Your Vendor Email (the email you use to log in to Cliniko)
2. Generate Your Cliniko API Key
To integrate Cliniko with SignatureRx, you must generate a unique API key in Cliniko. This key allows secure communication between both systems.
Important Warning!
Your API key gives access to your Cliniko data.
Only share it with trusted software vendors.
How to Generate a Cliniko API Key
Tip: Follow these steps inside Cliniko:
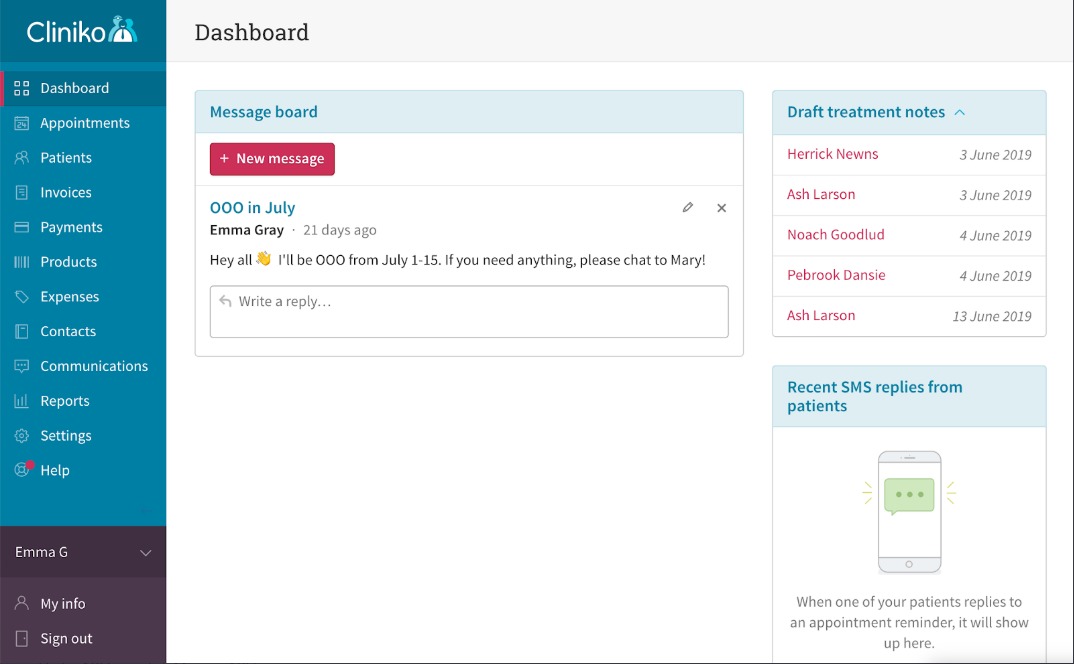
1. Go to My Info
Click your name in the top corner and select My info.
2. Open API Key Settings
Under API keys, click Manage API keys.
Make sure Allow yourself to create and use API keys is toggled to Yes.
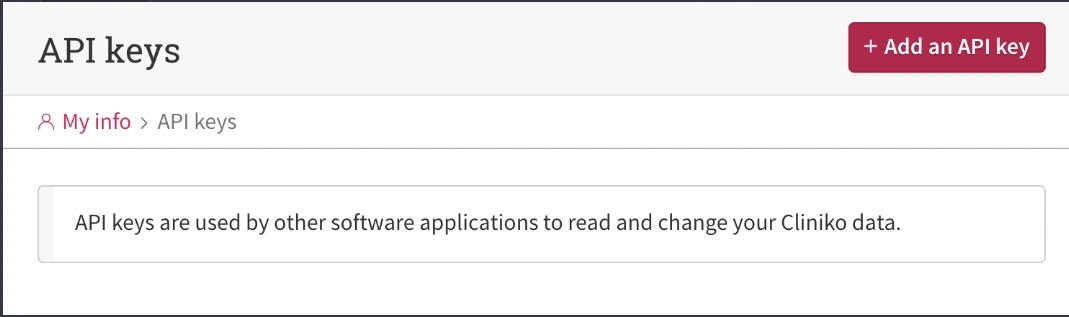
3. Add a New API Key
Click Add an API Key.
Enter a unique name, such as the name of the application you are integrating (for example, SignatureRx).
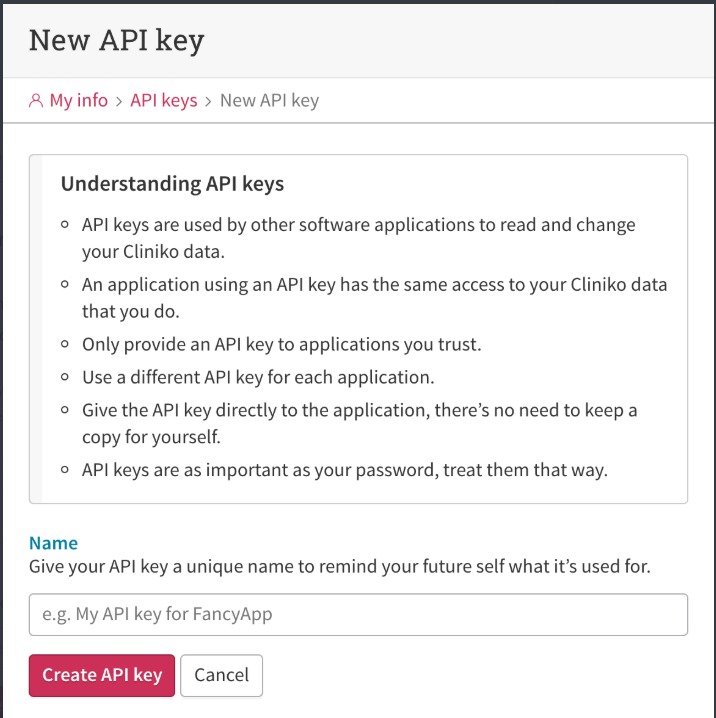
4. Create and Copy Your API Key
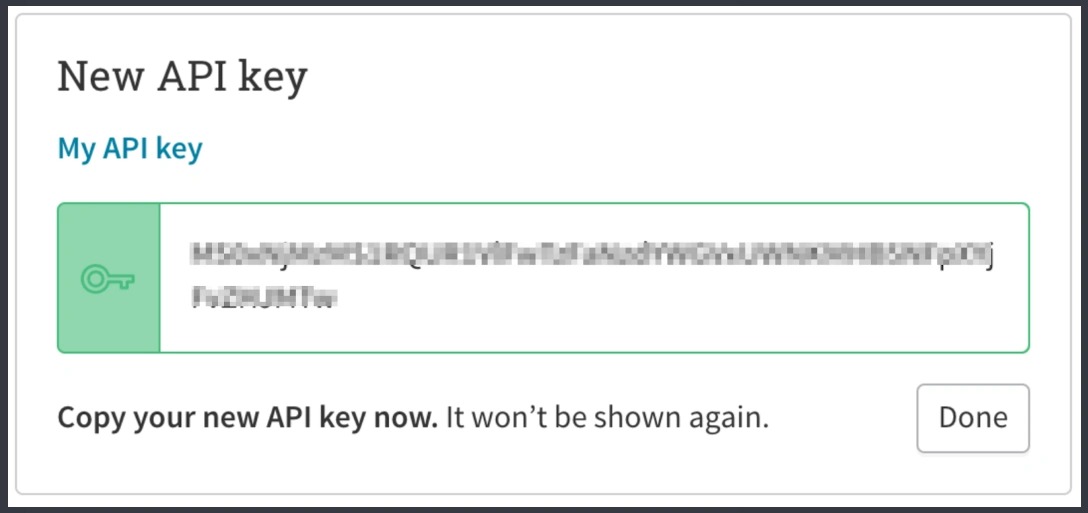
Click Create API Key.
You will now see a long string of letters and numbers.
This is your API key.
Copy it immediately. It will not be shown again after you click Done.
This is the key you will paste into the API key field in SignatureRx.
Managing API Keys in the Future
If you ever need to disable access for a specific application, you can simply archive the API key in Cliniko. This removes its ability to connect to your account.

Complete the Integration
Once you have:
- Your API key
- Your vendor name
- Your vendor email
Enter these into the Cliniko Integration section in your SignatureRx profile.
Your patient syncing integration is now set up and ready to use.
Related Articles
Integrating Carebit With SignatureRx
Integrating Carebit With SignatureRx Learn how to seamlessly connect your Carebit account with SignatureRx to streamline your clinical workflow. This guide provides step-by-step instructions for setup and configuring your account to send digital ...Integrating Pabau With SignatureRx
Integrating Pabau With SignatureRx Learn how to seamlessly connect your Pabau account with SignatureRx for streamlined prescription management. This guide provides step-by-step instructions to help you navigate the integration settings and ...Integrating Semble With SignatureRx
Integrating Semble With SignatureRx Learn how to effectively link your Semble account with SignatureRx for streamlined electronic prescribing. This guide walks you through the essential configuration steps to ensure seamless communication between ...Integrating Jelly Software With SignatureRx
Integrating Jelly Software With SignatureRx This guide provides a walkthrough for connecting Jelly Software with your SignatureRx account to streamline your prescription workflow. By following these steps, you will learn how to configure integration ...Integrating Hero Health and EMIS Web With SignatureRx
Hero Health and EMIS Web Integration With SignatureRx Hero Health has partnered with SignatureRx to allow private prescriptions to be generated directly from your Hero account. Prescriptions issued in EMIS Web can be pulled into Hero and sent to ...